
his Java Development Kit(JDK) allows you to code and run Java programs. It’s possible that you install multiple JDK versions on the same PC. But Its recommended that you install only latest version.
Following are steps to install Java JDK in Windows
Step 1) Go to link. Click on Download JDK. For java latest version.

Step 2) Next,
- Accept License Agreement
- Download latest Java JDK for your version(32 or 64 bit) of java for Windows.

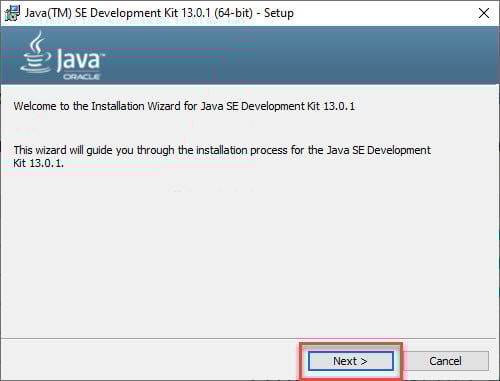
Step 3) Once the download is complete, run the exe for install JDK. Click Next
Step 4) Select the PATH for Java installation and click next.

Step 5) Once installation is complete click Close

How to set Environment Variables in Java: Path and Classpath
The PATH variable gives the location of executables like javac, java etc. It is possible to run a program without specifying the PATH but you will need to give full path of executable like C:\Program Files\Java\jdk-13.0.1\bin\javac A.java instead of simple javac A.java
The CLASSPATH variable gives location of the Library Files.
Let’s look into the steps to set the PATH and CLASSPATH
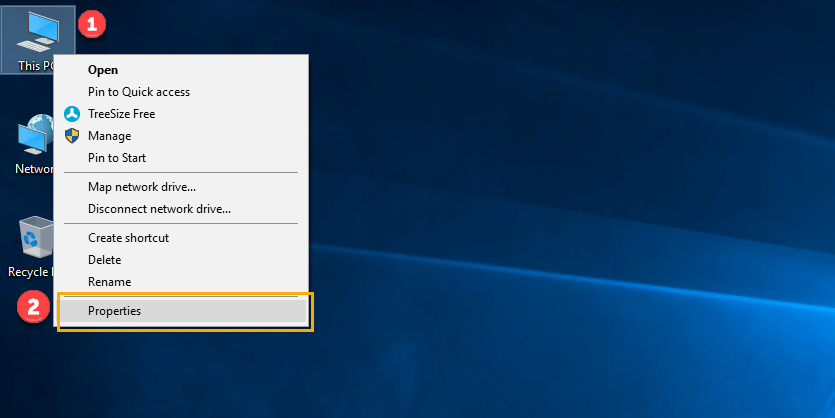
Step 1) Right Click on the My Computer and Select the properties
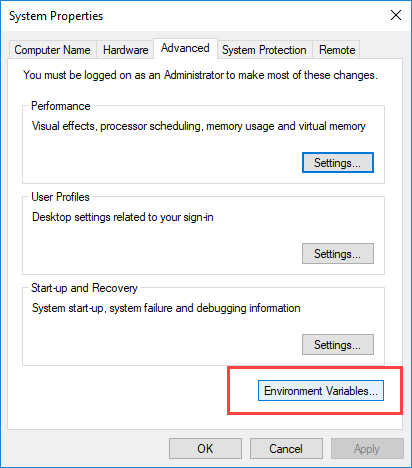
Step 2) Click on advanced system settings

Step 3) Click on Environment Variables
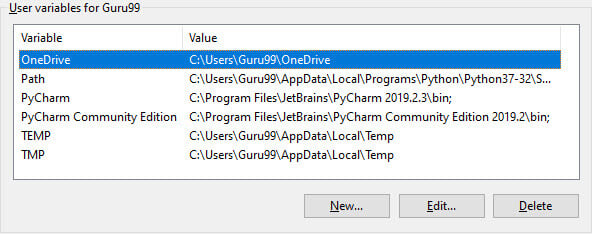
Step 4) Click on new Button of User variables
Step 5) Type PATH in the Variable name.
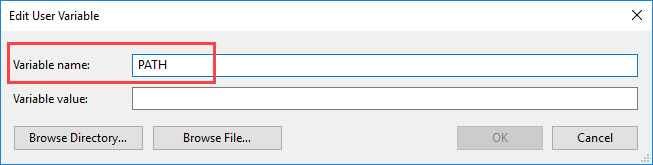
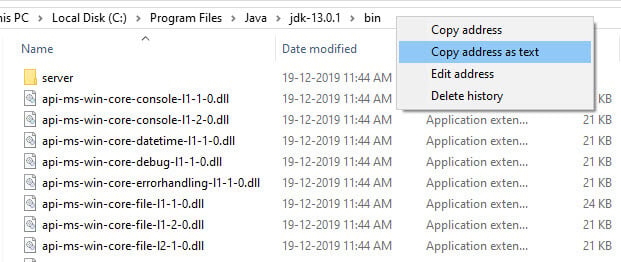
Step 6) Copy the path of bin folder which is installed in JDK folder.
Step 7) Paste Path of bin folder in Variable value and click on OK Button.

Note: In case you already have a PATH variable created in your PC, edit the PATH variable to
Here, %PATH% appends the existing path variable to our new value
Step 8) You can follow a similar process to set CLASSPATH.

Note: In case you java installation does not work after installation, change classpath to
Step 9) Click on OK button

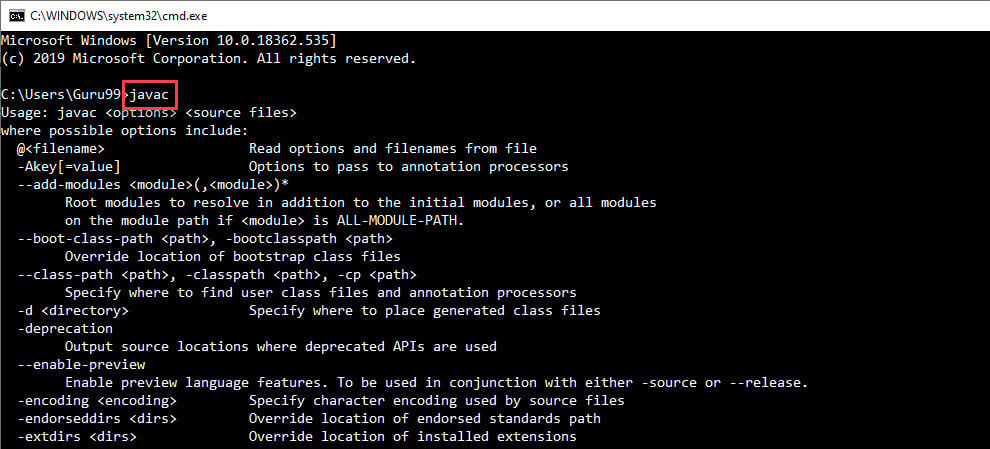
Step 10) Go to command prompt and type javac commands.
If you see a screen like below, Java is installed.
Next Read
- Android Studio Installation and setup
- How to get developer options on Android and Enable USB Debugging on Android
- How to Create an Android App With Android Studio
- how to update app on play store: A Step-by-Step Guide
- how to change app version in android studio

Pingback: Android Studio Installation and setup - jigopost