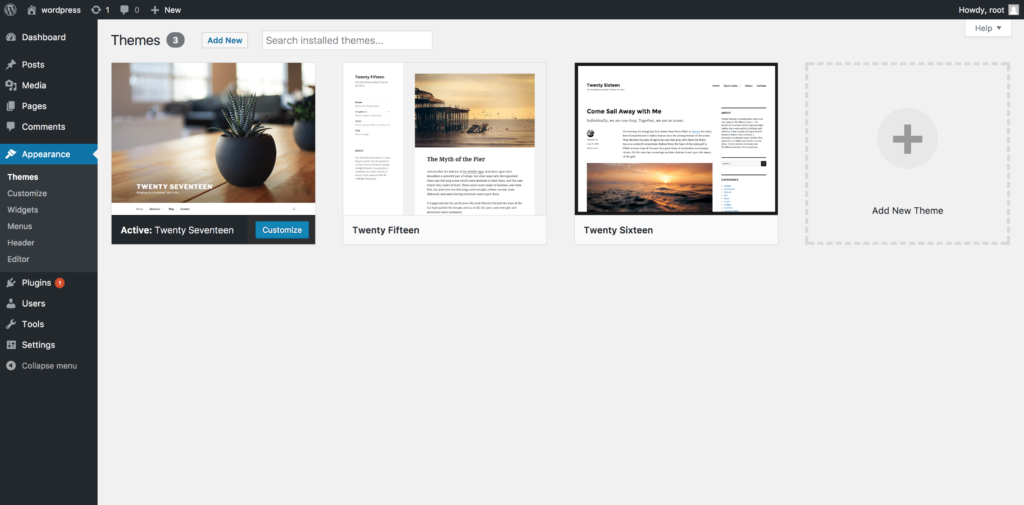
Before you can vamp up your site with themes, you need to install and activate them in your WordPress admin. These are the basic steps for most themes: How To Install WordPress Themes
Using the WordPress themes directory
If you haven’t chosen a theme yet, head over to the WordPress theme directory. It holds official WordPress themes, that have been checked and inspected against WordPress theme guidelines. They are also free to download. There are thousands of themes in the directory; this is where the WordPress theme search function comes in handy.

Use the theme search bar if you know the name or style of theme you want. The Feature Filter in the theme search function will narrow down the results. You can select your preferred layout format, which features you need, and the subject of your site. You might be looking for a single-column layout for a photography blog that features an animated background, for example.
- Log in to your WordPress admin page, then go to Appearance and select Themes.
- To add a theme, click Add New.
- From this page, you have two ways to add a new theme. If you know the name of the theme you want, search for it in the Theme directory. If you don’t know your preferred theme’s name, use the Feature Filter to hone down your selection, check any tags and click Apply Filter for a screen filled with themes that meet your search criteria.
- To unlock a themes options, hover over it; you can either choose Preview to see a demo of the theme or install it by clicking the Install button once you’re ready. Once installed, click the Activate link.
- You’re all done, now preview your site to see how it looks.
Download WordPress themes
If you purchased a theme from a developer that operates outside of the WordPress themes directory, you need to upload it before installing. Follow these simple instructions to upload and install a theme.
- Begin by downloading the theme’s .zip file from the source onto your local computer.
- From your WordPress Administration area, head to Appearance > Themes and click Add New.

The Add New theme screen has a new option, Upload Theme.

The theme upload form is now open, click Choose File, select the theme zip file on your computer and click Install Now.

The theme is now ready to be activated from your admin. Select the Appearance tab and open the Themes directory, locate the theme and click the Activate link.
How to install WordPress themes using FTP
If you have a WordPress theme on your local computer, it’s possible to install it using File Transfer Protocol (FTP). By using this method there is a risk of deleting or modifying files, which could bring your site offline. For this reason, we advise that only advanced users install themes this way. To use the FTP to add new themes manually, follow these steps.
To begin, you must have an FTP hostname, username and password, and an FTP client. We’ve used FTP client Filezilla to show the steps in this tutorial.
- Launch Filezilla, enter your login details and click Quickconnect.
- The following window contains Remote Site and a root directory (the root directory is your site’s name). Select /rootdirectory/web/content/wp-content/themes.
- In the Local Site window, select the folder containing your saved theme, right click for more options and hit Upload.
- You’ve now successfully uploaded your theme to WordPress. To finalize, log in to your control panel, head to Appearance > Themes and hover your mouse over the new theme. Now click Activate.
- You’ve now successfully uploaded your theme to WordPress. To finalize, login to your control panel, head to Appearance > Themes and hover your mouse over the new theme. Now click Activate.
- All that’s left is to check out your new theme and see how you like your new site design.


Pingback: How to Create Website - jigopost
Pingback: How to Install WordPress - jigopost