Speed is a significant factor when it comes to the overall success of your website. From search engines to visitors, your site needs to be quick. This is why a lot of site owners will use W3 Total Cache in WordPress.
Optimizing your website goes beyond making sure graphics are the right size and that redundant coding is removed. It’s often difficult for website owners to keep up with making sure webpages load quickly and flawlessly.
Total Cache takes a lot of the work out of optimizing for you. Instead of making site adjustments, you can spend more time on developing awesome content.
In this article, we’re going to show you how to set up your WordPress website to use total caching. Once this is enabled on your site, you will see a profound difference in visitor engagement.
Why is setting up caching important for your website?
It’s believed that Total Cache can increase the performance of your site by at least 10 percent. This is based on average improvements and is dependent on the layout and structure of your website.
However, even an improvement of just one second in load time can greatly affect a business platform. For instance, a website that takes four seconds to load loses more traffic and potential sales than one that takes three seconds.
It’s all about improving the user experience if you want to attract and keep visitors. Total Cache helps with this by making the site more efficient. By caching pertinent information and “minification” processes, the site can increase in speed.
Although the user experience should always be the most important aspect of your site, don’t forget about search engines. Sites like Google rate faster websites higher than those that take too long to load information. Simply adding Total Cache to your platform may increase your ranking in result pages by speeding up your website.
What makes this such a valuable tool is the fact that a lot of data can be simply stored for your website. Instead of a visitor causing the server to retrieve information from databases or run scripts, a copy of your webpages is delivered when necessary. This is where a lot of the speed boost comes from.
Adding W3 Total Cache to Your WordPress Website
Adding Total Cache to your website is an easy process. All it takes is the plugin, a few configuration changes, and your site is optimized. To get this started:
Step 1: Go to “Plugins” from the WordPress admin panel on the left of your dashboard.
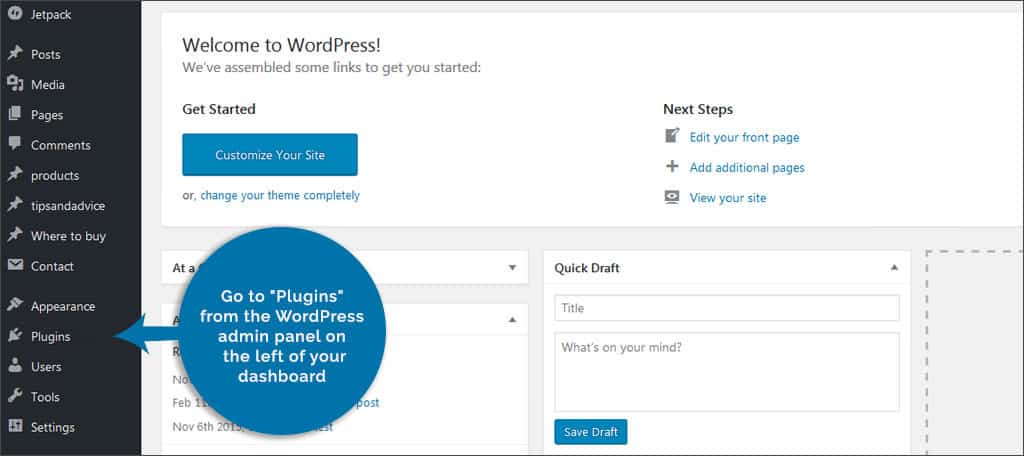
Step 2: Deactivate and remove any caching plugins you may have installed. This will prevent the site from having issues between competing plugins.
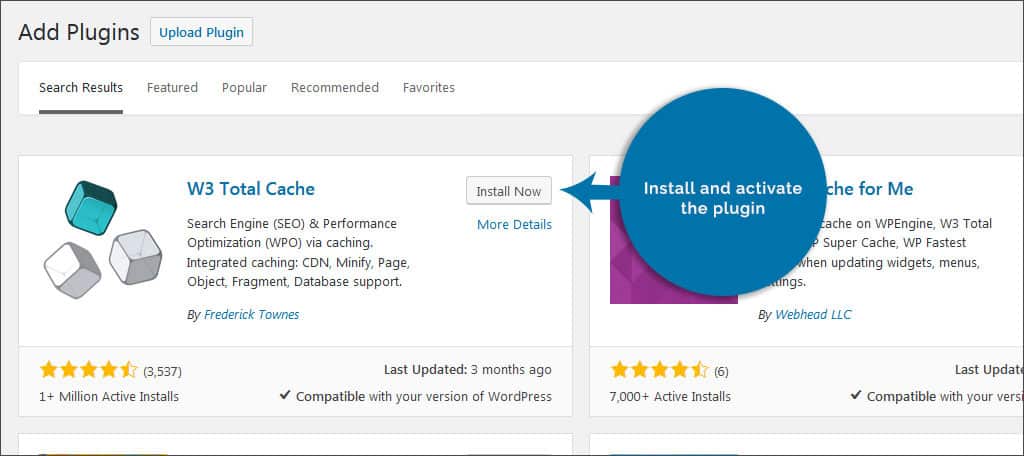
Step 3: Add a new plugin and search for “W3 Total Cache.”
Step 4: Install and activate the plugin.
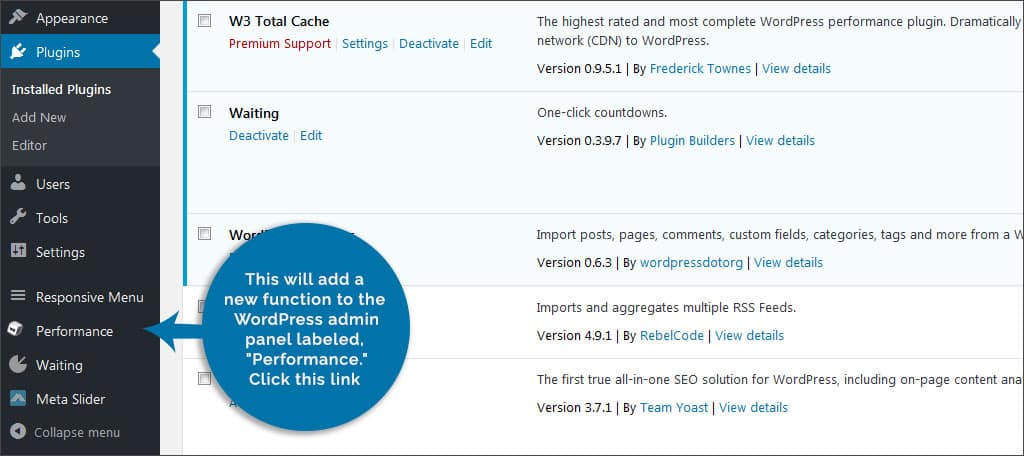
Step 5: This will add a new function to the WordPress admin panel labeled, “Performance.” Click this link to open the plugin’s settings.
Step 6: As the performance function expands, click the link for, “General Settings.”

Step 7: From here, you can set the overall functionality of caching on the site. This will cover everything in the system. However, some tools and features may be disabled because of non-compatible formats or server restrictions from your web host. Select the options that apply to your website and click any of the “Save all settings” buttons.
Step 8: Click “Page Cache” on the left admin panel.
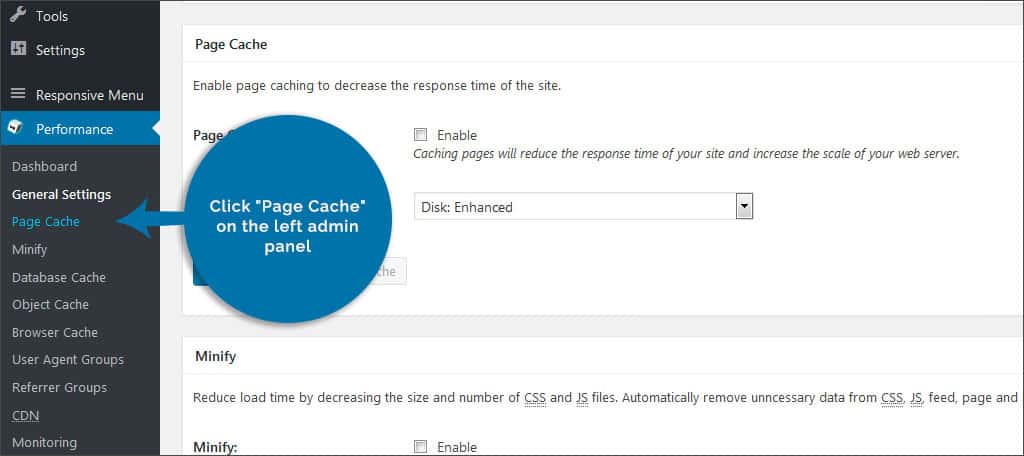
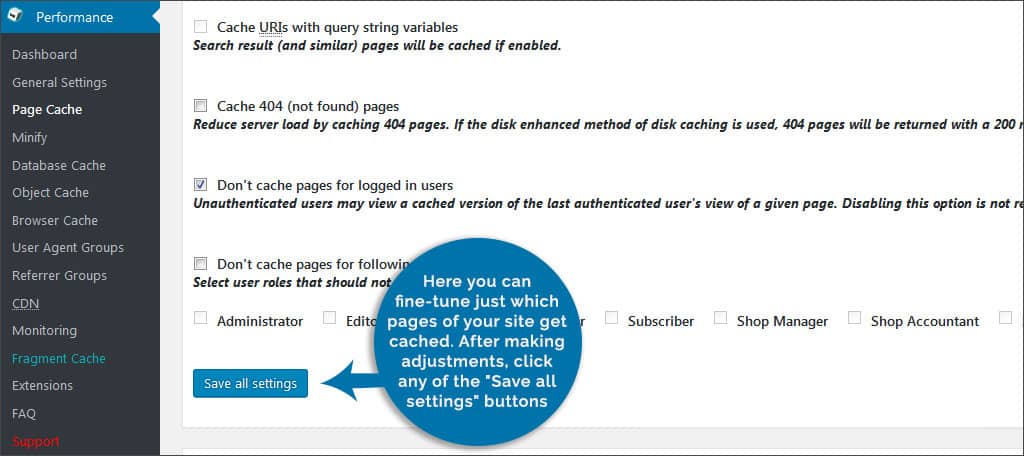
Step 9: Here you can fine-tune just which pages of your site get cached. This is valuable because visitors can access a stored copy of your site rather than use server resources to load the data. After making all of your necessary adjustments, click any of the “Save all settings” buttons.
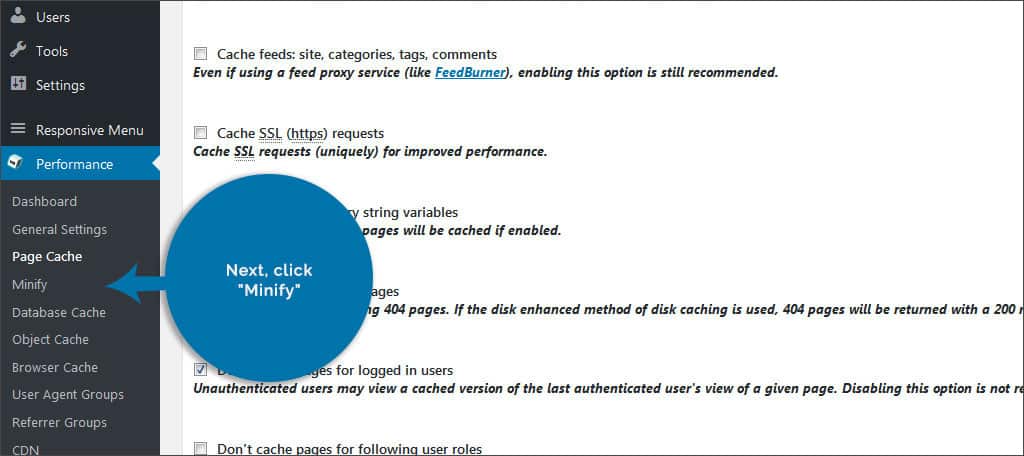
Step 10: Next, click “Minify.”
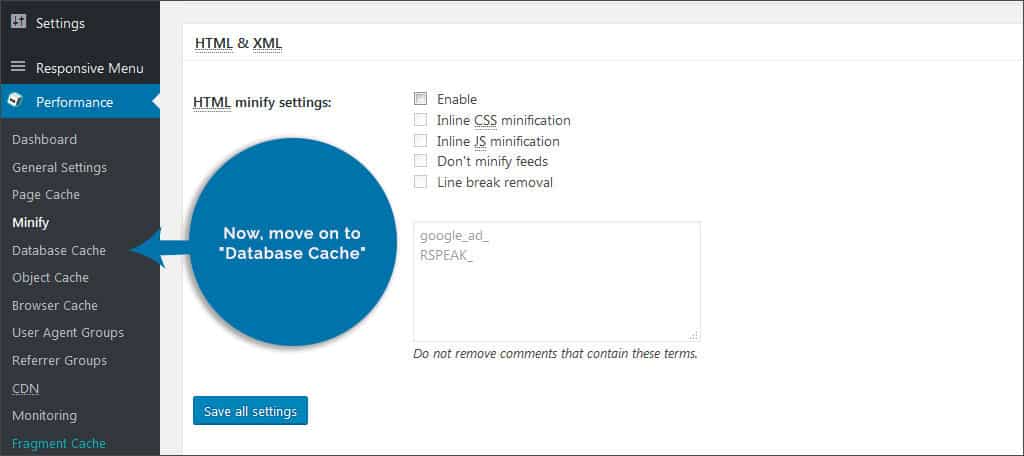
Step 11: Minify will reduce the size of the files as much as possible in order to save on server resources. However, not all servers may be ideal for this function. If you’re in doubt, contact your web host provider. Otherwise, it may be more efficient to leave this alone for now.
Step 12: Now, move on to “Database Cache.”
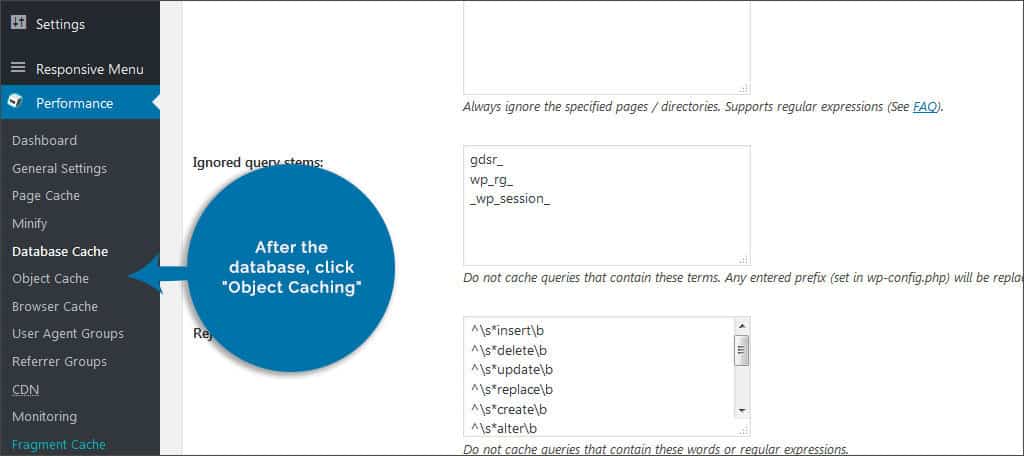
Step 13: Database caching is another one of those features that may be sensitive to a server’s setup. Some hosts recommend leaving this disabled because it can increase the load on the hardware and slow your site. Your web host provider may be able to turn on a built-in caching feature for your database if you ask.
Step 14: After the database, click “Object Caching.”
Step 15: Object caching is useful for websites that use a lot of complex database queries. Most beginning sites and many established ones will not need this feature. For now, you may simply need to leave this disabled as well.
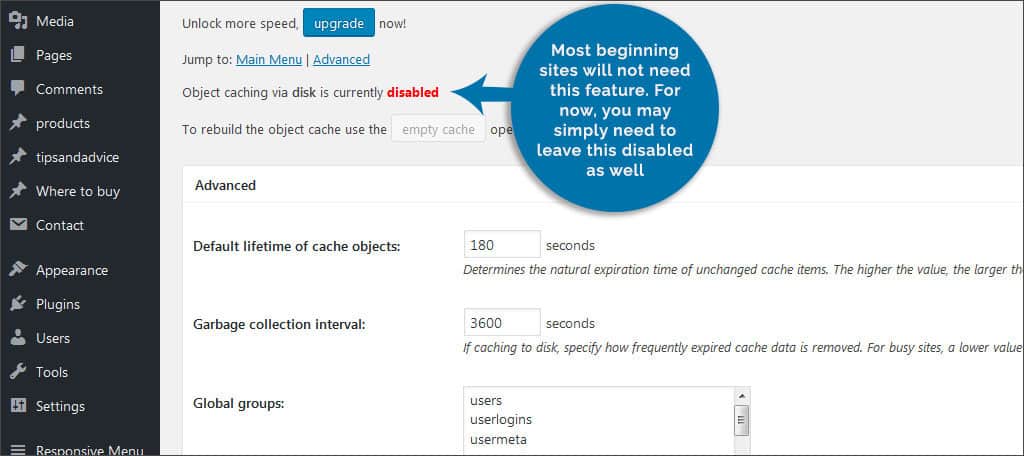
Step 16: Click on “Browser Cache.”
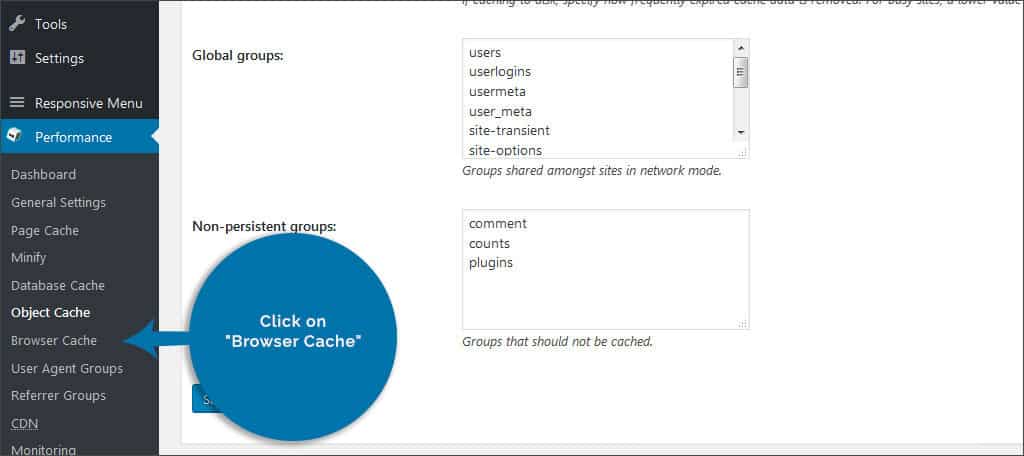
Step 17: In this control, you can modify which parts of your website are saved directly to a user’s browser. This greatly cuts access time for those who frequent your website. Instead of reloading the same images repeatedly, browser caching saves files in a folder for the user to access. Ones you’ve made your selections, click the button to save your changes.
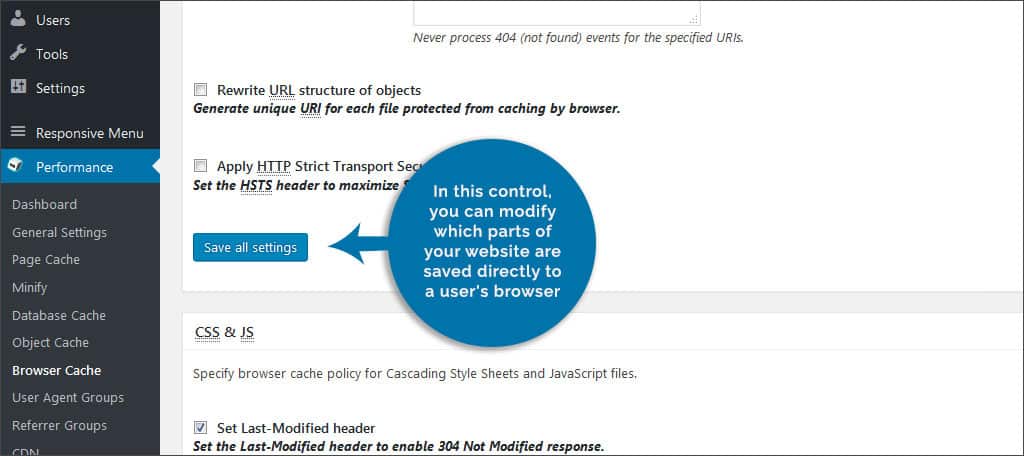
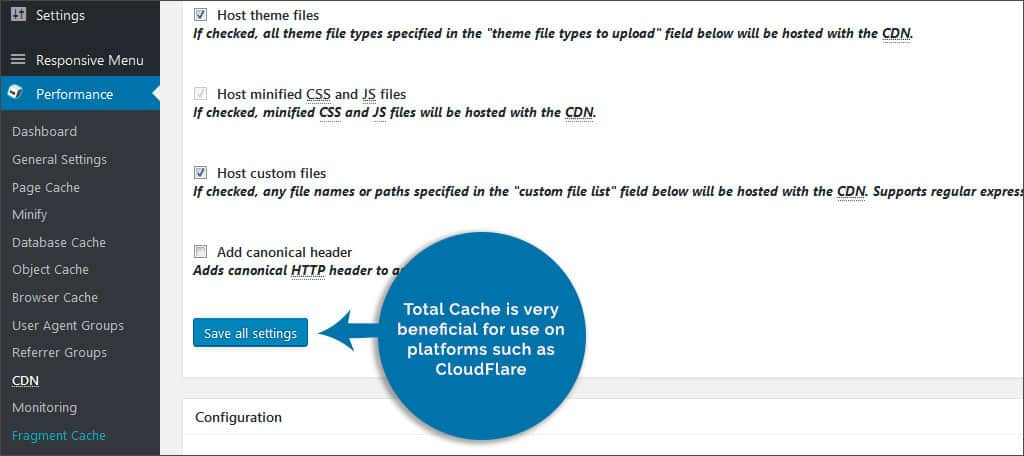
Step 18: Click “CDN” to modify your content delivery network settings.
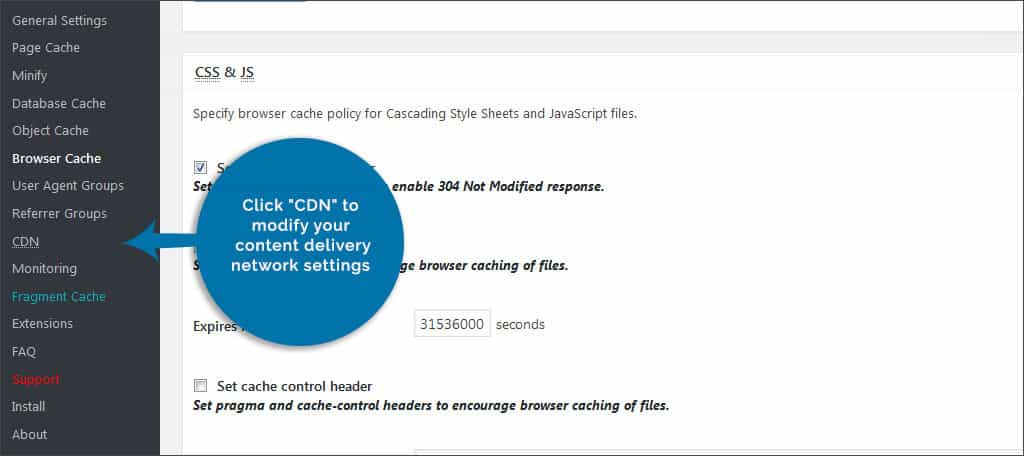
Step 19: Total Cache supports using a CDN on several different platforms. Content delivery networks have potential to greatly affect access time of your site, and this tool makes it even faster. Total Cache is very beneficial for use on platforms such as CloudFlare. Click to save your settings once you have completed setting this up.
There are many parts to Total Cache that will directly affect the operation of your website. If you are unsure about which settings to choose, it is better to leave them be. Your web host provider may be able to help you make the appropriate adjustments later. It’s better than inadvertently making your site worse by making the wrong choices.
What does Total Cache do for websites out of the box?
By default, Total Cache will enable browser caching. However, you can easily add things like page caching by enabling the feature in the general settings and then choosing how pages are handled.
What happens if a visitor clears his or her cache on the browser?
When someone empties their own cache in the browser, the website in its entirety will have to be loaded. This means the first visit after clearing the cache may be at a slower speed. This is when page caching helps reduce that initial load time.
Does Total Cache guarantee the site to show in the top search results?
Speed is only one factor when it comes to search engines. Although using Total Cache will not guarantee you a top spot in the results page, it will greatly influence your placement. There is simply more to boosting your SEO practices than increasing speed.
Wouldn’t it be better to enable all features of Total Cache?
Because of how some websites are set up and the types of servers that are used, not all features of Total Cache are ideal. This is why you need to spend time learning what each individual function does before enabling it. Otherwise, you could make the tool less efficient with the wrong setting.
Enabling Total Cache on your WordPress website has the potential to greatly improve the performance of your site. It’s all about speed, and reducing the need for server resources is just one major step to making your pages load faster. Keep in mind that most Internet users will abandon a site if it takes longer than three seconds to load. Don’t let your site be counted among that statistic.
Read More
